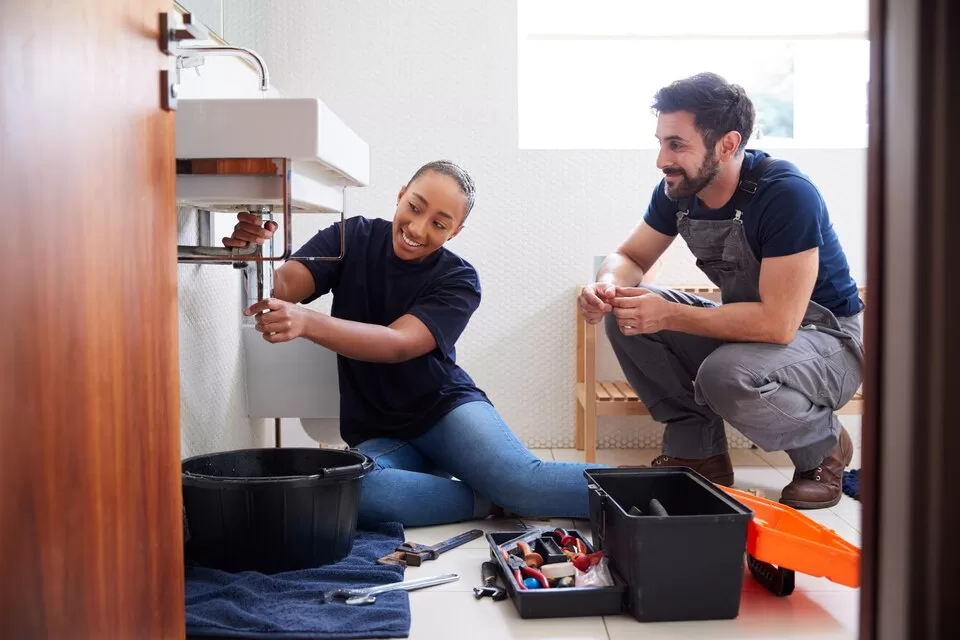
Dealing with plumbing issues at home can be a real hassle, but not every problem requires a call to the plumber. Some plumbing fixes are simple enough to handle with just a few essential tools and a little know-how. Learning these easy DIY repairs can save you time and money and give you the confidence to tackle minor issues independently.
In this article, we’ll walk you through four simple plumbing fixes everyone should know. From fixing a leaky tap to clearing a blocked shower drain, each section will provide straightforward instructions to help you finish the job. Whether you’re a seasoned DIY enthusiast or a complete beginner, these tips will help you easily handle basic plumbing tasks.
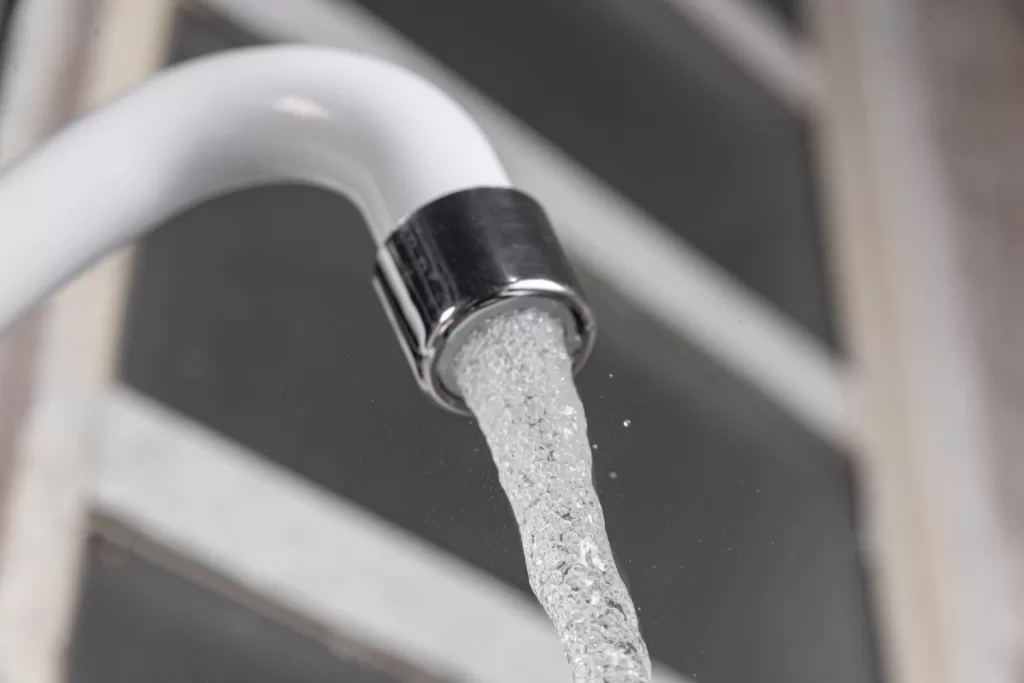
Fixing a Leaky Tap
Dealing with a leaky tap is a common issue that can waste a lot of water and increase your bill. Thankfully, fixing it is usually straightforward. Here’s how to do it:
1. Turn Off the Water Supply: Before you start, turn off the water supply to the tap. This is usually done by closing the valves under the sink. If there are no valves, turn off the main water supply for the house. Open the tap to drain any remaining water.
2. Remove the Tap Handle: Use a screwdriver to remove the screw that holds the tap handle in place. This screw is often hidden under a decorative cap, which you can pry off with a flathead screwdriver.
3. Take Out the Cartridge or Washer: Once the handle is off, you’ll see either a cartridge or a washer, depending on the type of tap. Use pliers to remove this part. If it’s a washer-type tap, the washer may be worn out. If it’s a cartridge, the O-rings may be damaged.
4. Replace the Damaged Parts: Take the old washer or O-ring to a hardware store to find an exact match. Replace the damaged part with the new one.
5. Reassemble the Tap: Put everything back together in the reverse order. Reattach the cartridge or washer, screw the handle back on, and turn on the water supply. Test the tap to make sure it’s no longer leaking.
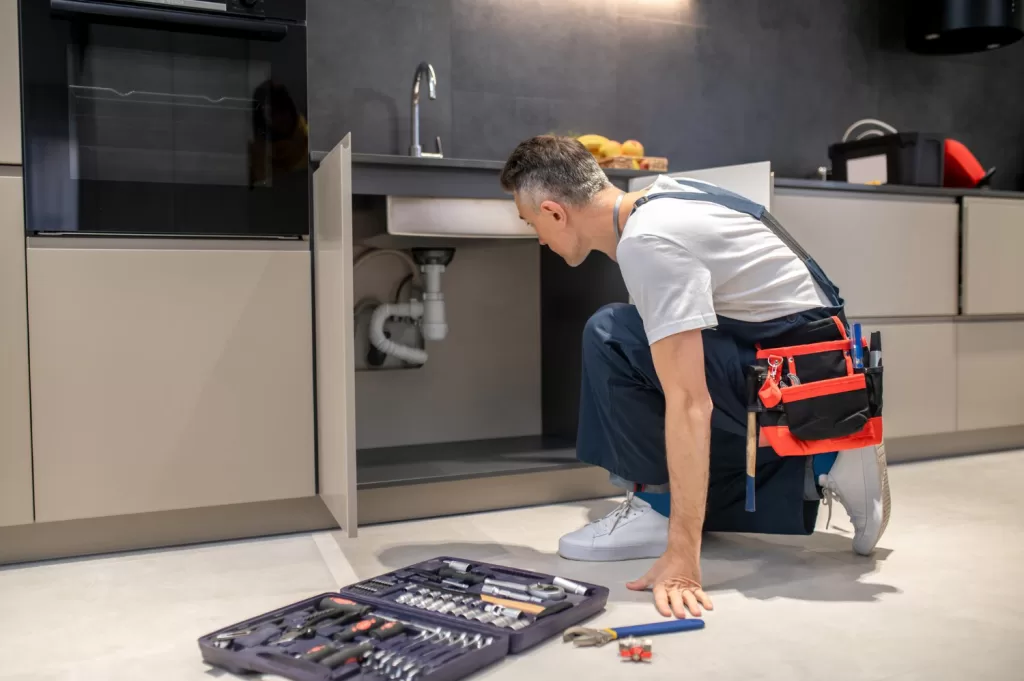
Unclogging a Blocked Sink
A blocked sink can be a real nuisance, causing water to drain slowly or not at all. Fortunately, unclogging a sink is usually a simple task you can handle yourself. Here are some methods to try:
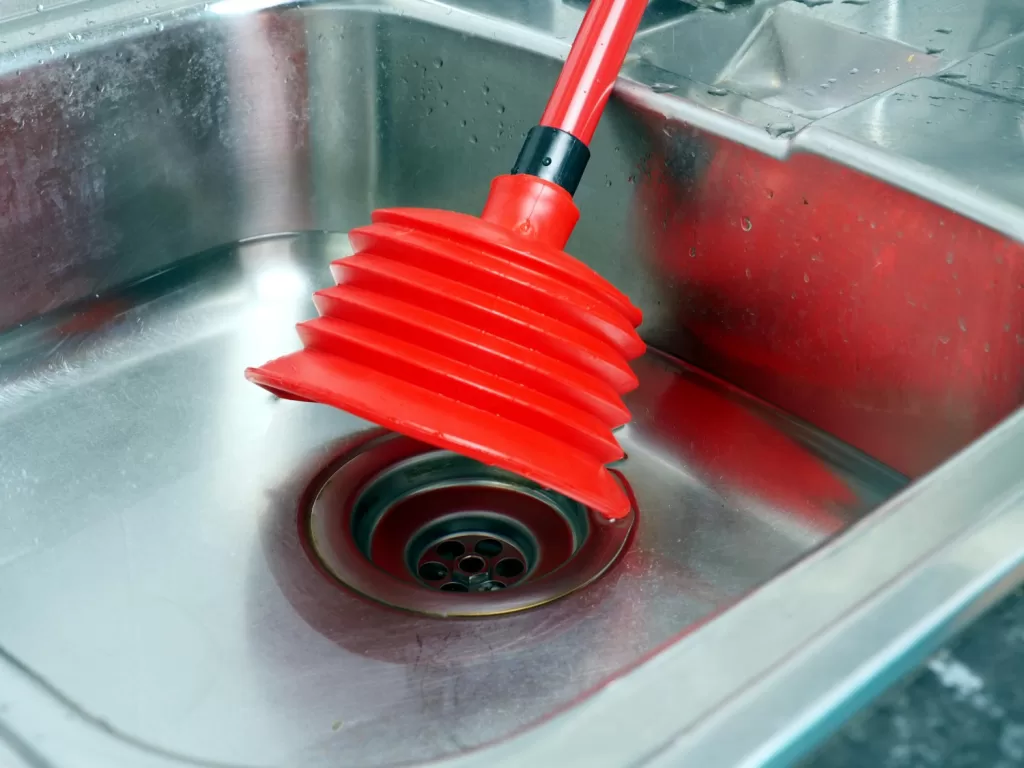
1. Use a Plunger: A plunger is often the quickest way to clear a blocked sink. Fill the sink with enough water to cover the plunger’s cup. Place the plunger over the drain, push down firmly, then pull up sharply. Repeat this several times to dislodge the blockage.
2. Try Baking Soda and Vinegar: Pour a cup of baking soda down the drain, followed by a cup of vinegar. This combination creates a fizzy reaction that can help break down the blockage. Wait 15 minutes, then flush the drain with hot water.
3. Use a Drain Snake: If the blockage is further down the pipe, a drain snake can help. Insert the snake into the drain and push it through the pipes, turning the handle to break up the clog. When you feel resistance, twist and try to clear the blockage, then pull the snake out and remove any debris.
4. Check the P-Trap: The P-trap is the U-shaped pipe under the sink that can collect debris over time. To catch any water, unscrew the connectors and remove the trap. Place a bucket under the P-trap. Clean out any debris and reassemble the P-trap.
5. Flush with Hot Water: After clearing the blockage, flush the sink with hot water to ensure the pipes are clear. This can also help remove any leftover residue.
Using these methods, you can typically clear a blocked sink without needing a plumber. Regular maintenance, like avoiding pouring grease down the drain and using drain screens, can also help prevent future blockages.
Repairing a Running Toilet
A running toilet can waste a lot of water and increase your bill if left unfixed. Fortunately, repairing it is often simple and doesn’t require specialised tools. Here’s how you can fix it:
1. Check the Flapper: Often, the cause of a running toilet is a faulty flapper. The flapper is the rubber seal in the toilet tank that lifts to let water flow from the tank to the bowl. Sometimes, it becomes worn out or doesn’t sit properly. Turn off the water supply to the toilet and flush to drain the tank. Remove the flapper and inspect it for damage. If it’s worn or cracked, replace it with a new one. Make sure it seats properly over the flush valve opening.
2. Adjust the Fill Valve: If the flapper isn’t the issue, the fill valve might be. The fill valve controls how much water enters the tank. Open the tank lid and check the water level— it should be about one inch below the top of the overflow tube. If the water level is too high, it can cause the toilet to run. Adjust the fill valve by turning the screw on top or by squeezing the clip and sliding it down the rod. Lowering the water level can stop the toilet from running.
3. Inspect the Chain: The chain connecting the handle lever to the flapper can sometimes be too tight or loose. Too tight prevents the flapper from sealing correctly; it won’t lift entirely if it’s too loose. Adjust the chain length so there’s a bit of slack when the flapper is closed.
4. Replace the Fill Valve Assembly: If adjusting the fill valve doesn’t solve the problem, you may need to replace the whole assembly. Turn off the water supply, drain the tank, and follow the instructions on the new fill valve package to install the new assembly.
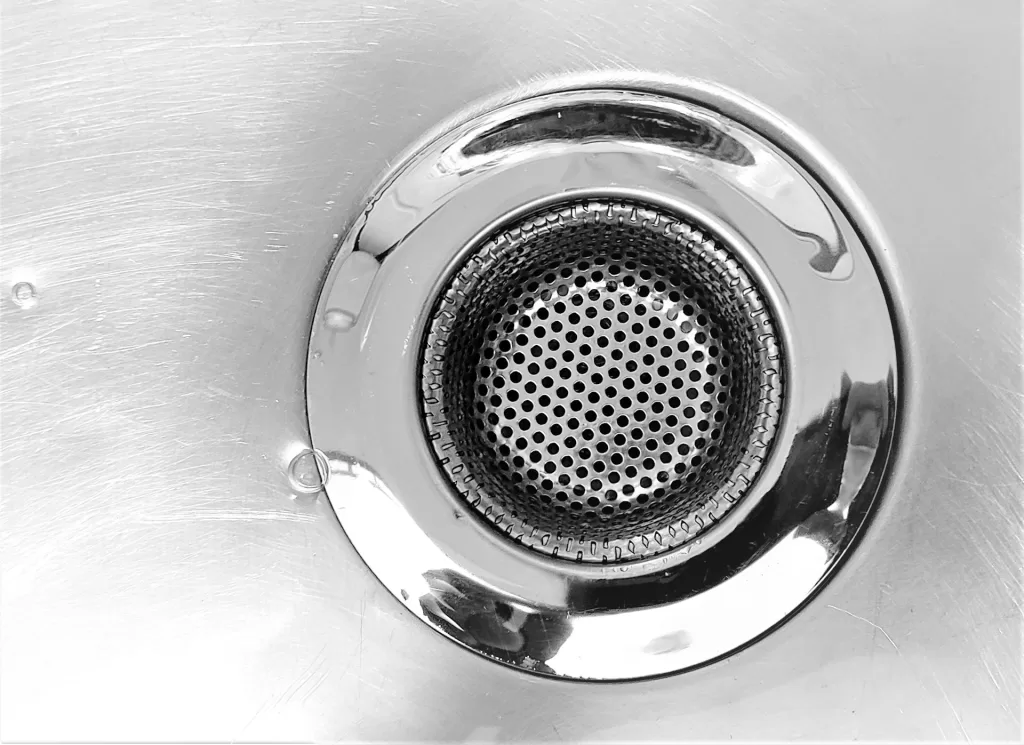
Clearing a Blocked Shower Drain
A blocked shower drain can be a messy and annoying problem, causing water to pool at your feet. Clearing it doesn’t have to be complicated. Here are some effective methods to try:
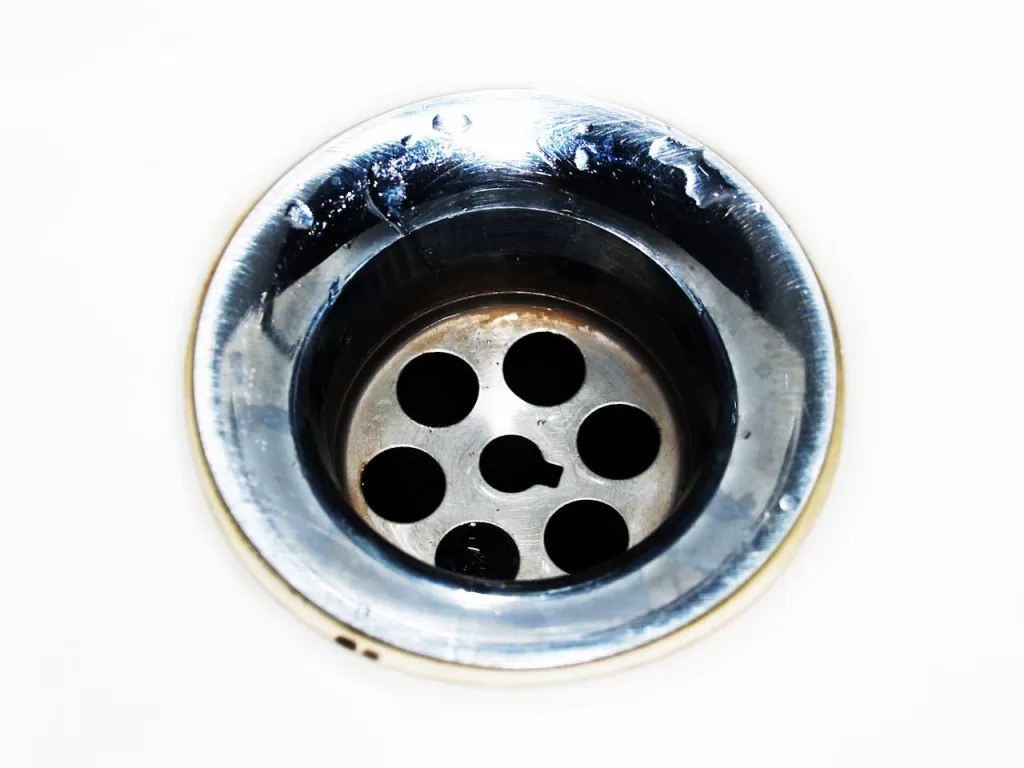
1. Remove the Drain Cover and Clean: The first step is to remove the drain cover. Use a screwdriver if necessary. Once the cover is off, check for visible blockages such as hair and soap scum. Use a wire coat hanger or a pair of pliers to pull out any debris you can see.
2. Use a Plunger: If the blockage is more profound, a plunger can help. Place the plunger over the drain and add enough water to cover the plunger’s cup. Pump the plunger up and down several times to create suction that can dislodge the clog. This method works best for minor blockages.
3. Apply a Drain Cleaner: For more stubborn blockages, apply a commercial drain cleaner or a homemade baking soda and vinegar solution. Pour half a cup of baking soda down the drain, followed by half a cup of vinegar. Let it sit for 15 minutes, then flush with hot water. Commercial drain cleaners can also be effective but should be used according to the manufacturer’s instructions.
4. Use a Drain Snake: Try a drain snake if the plunger and chemicals don’t work. Insert the snake into the drain and push it through the pipes, twisting the handle to break up the clog. When you feel resistance, twist and push the snake to clear the blockage, then pull it out and remove the debris.
5. Prevent Future Blockages: Once the drain is clear, prevent future blockages. Use a drain cover to catch hair and larger debris. Regularly pouring boiling water down the drain can help dissolve soap scum and other residues.
Conclusion
Knowing some basic DIY plumbing fixes can save you both time and money. Taking the time to understand and perform these basic repairs also gives you a sense of accomplishment and keeps your home running smoothly. You can always call a trusted expert if you have more severe plumbing troubles or need professional assistance.
For any plumbing issues beyond your DIY capabilities, contact Kieran McGuire Plumbing. We’re here to help with all your plumbing in Picton, ensuring your home stays in shape.